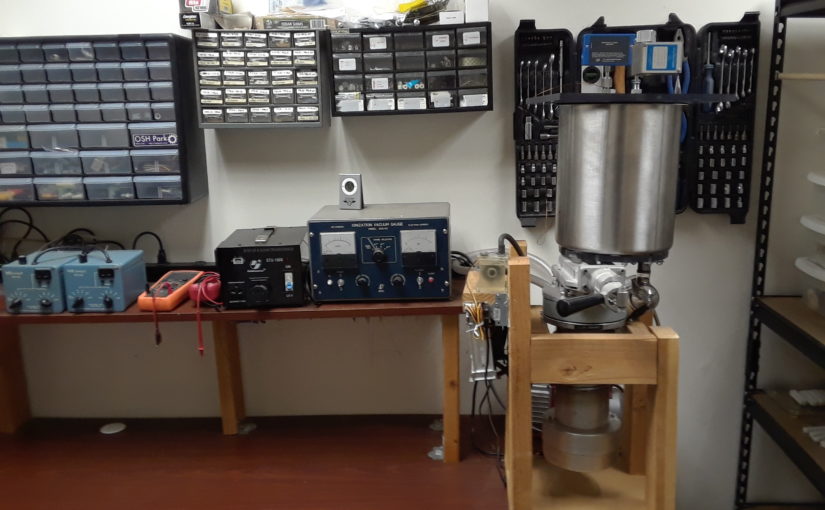
This three-stage vacuum pumping system creates a very strong vacuum, in which charged particles can travel long distances without colliding. It has a large stainless steel vacuum chamber with a transparent cover. When paired with a high voltage power supply, it can be used for experiments involving electron beams, ion beams, etc.
Warnings
- There is always a chance that a home-made vacuum chamber may implode.
- If left un-attended, the diffusion pump heater will create a fire hazard.
- High voltage vacuum experiments have the potential to generate harmful X-Rays.
Components
- Two-Stage Rotary Vane Pump
- Foreline Pump Hose
- Vapor Diffusion Pump
- Liquid Cooling System
- Vapor Baffle
- Gate Valve
- Vacuum Chamber
- Variable Leak Valve
- Convection Gauge
- Bayard-Alpert Ionization Gauge
Two-Stage Rotary Vane Pump
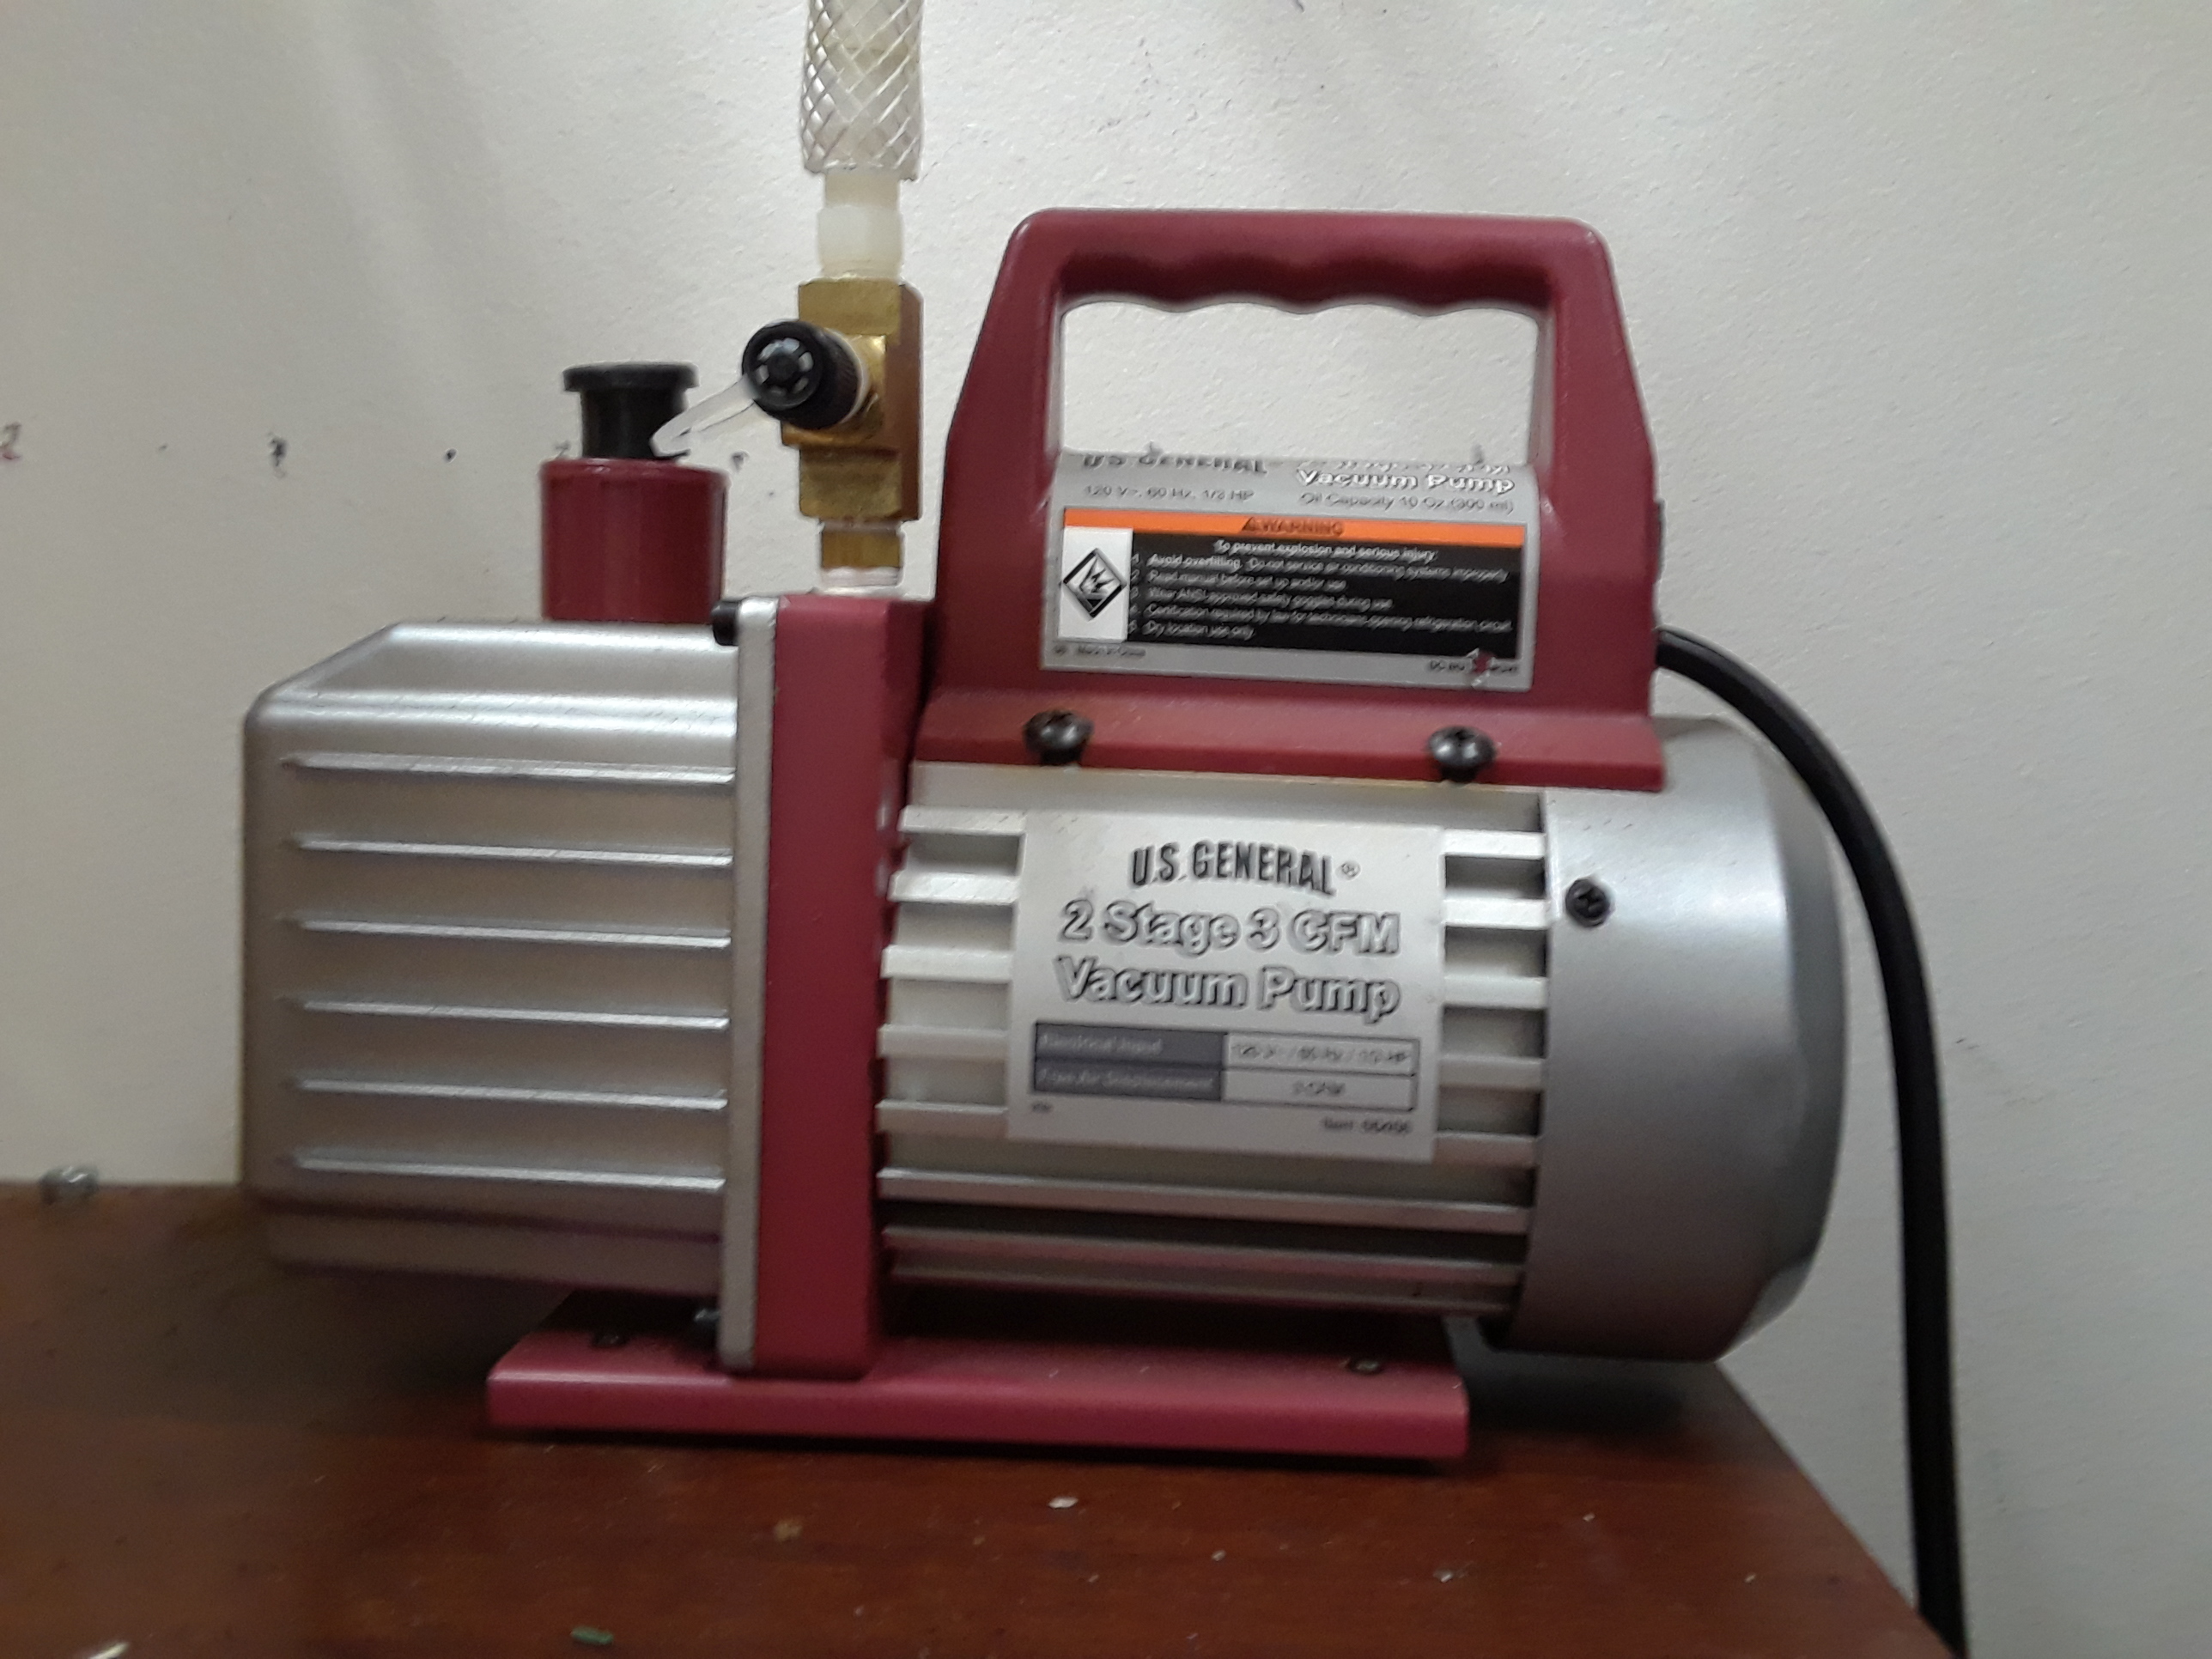
The two-stage rotary vane pump is a mechanical pump that brings the system pressure down to about 30 microns Hg. It was purchased brand-new from Harbor Freight Tools.
Foreline Pump Hose
Originally, I tried to use an r134a refrigerant charging hose to connect the rotary vane pump to the oil diffusion pump. Unfortunately, the inside diameter of this hose was only about 3/16″ and this created an unacceptably large pressure differential between the diffusion pump exhaust and the rotary vane pump inlet. To solve this problem, I un-screwed the flared fitting that came with the rotary vane pump and connected the pump to a 1/2″ fiber-reinforced flexible plastic tube. A cork-shaped silicone plug was used to join the other end of the tube to the diffusion pump. Nylon barbed tube fittings were used on both ends of the tube.
Oil Vapor Diffusion Pump
I purchased a used 4″ vapor diffusion pump from eBay. It appears to have been salvaged from a JEOL scanning electron microscope, and was in very dirty condition when I received it. This pump was the victim of a careless operator. It is very important to make sure that the rotary vane pump is turned on before the diffusion pump heater, because otherwise the oil will burn and create a huge mess. I dis-assembled the pump and was able to clean out most of the burned oil by scrubbing it with soap water and a wire brush. I purchased a bottle of replacement oil directly from Kurt J Lesker Company.
Liquid Cooling System
The radiator was salvaged from an old Power Mac G5 computer, and the water pump was purchased from eBay. Rubber tubing was used to make all the connections. Two computer fans are used to force air through the radiator. Unfortunately, this system is not large enough to handle the 500W heat output. The radiator becomes too hot to touch after about 20 minutes. A radiator from a small car would probably be more appropriate. Proper cooling will improve the overall performance of the pump by causing the oil vapor to condense as soon as it hits the walls of the pump.
Vapor Baffle
The system functions just fine without a vapor baffle, but I was lucky enough to find a matching baffle for my diffusion pump on eBay. It helps to prevent oil vapor from escaping into the vacuum chamber.
Gate Valve
When the diffusion pump is starting up, it may spew hot oil vapor into the vacuum chamber unless the gate valve is closed. I purchased a used 2″ gate valve from eBay for about $30. I had to replace all of the O-Rings, and I also noticed that vacuum grease had been used on the valve. I purchased a tube of Dow Corning vacuum grease from eBay, and started using it on all of the rubber O-rings and gaskets. A 3/8″ aluminum plate is used to connect the diffusion pump inlet to the gate valve. Nitrile rubber O-rings are used to seal both connections.
Vacuum Chamber
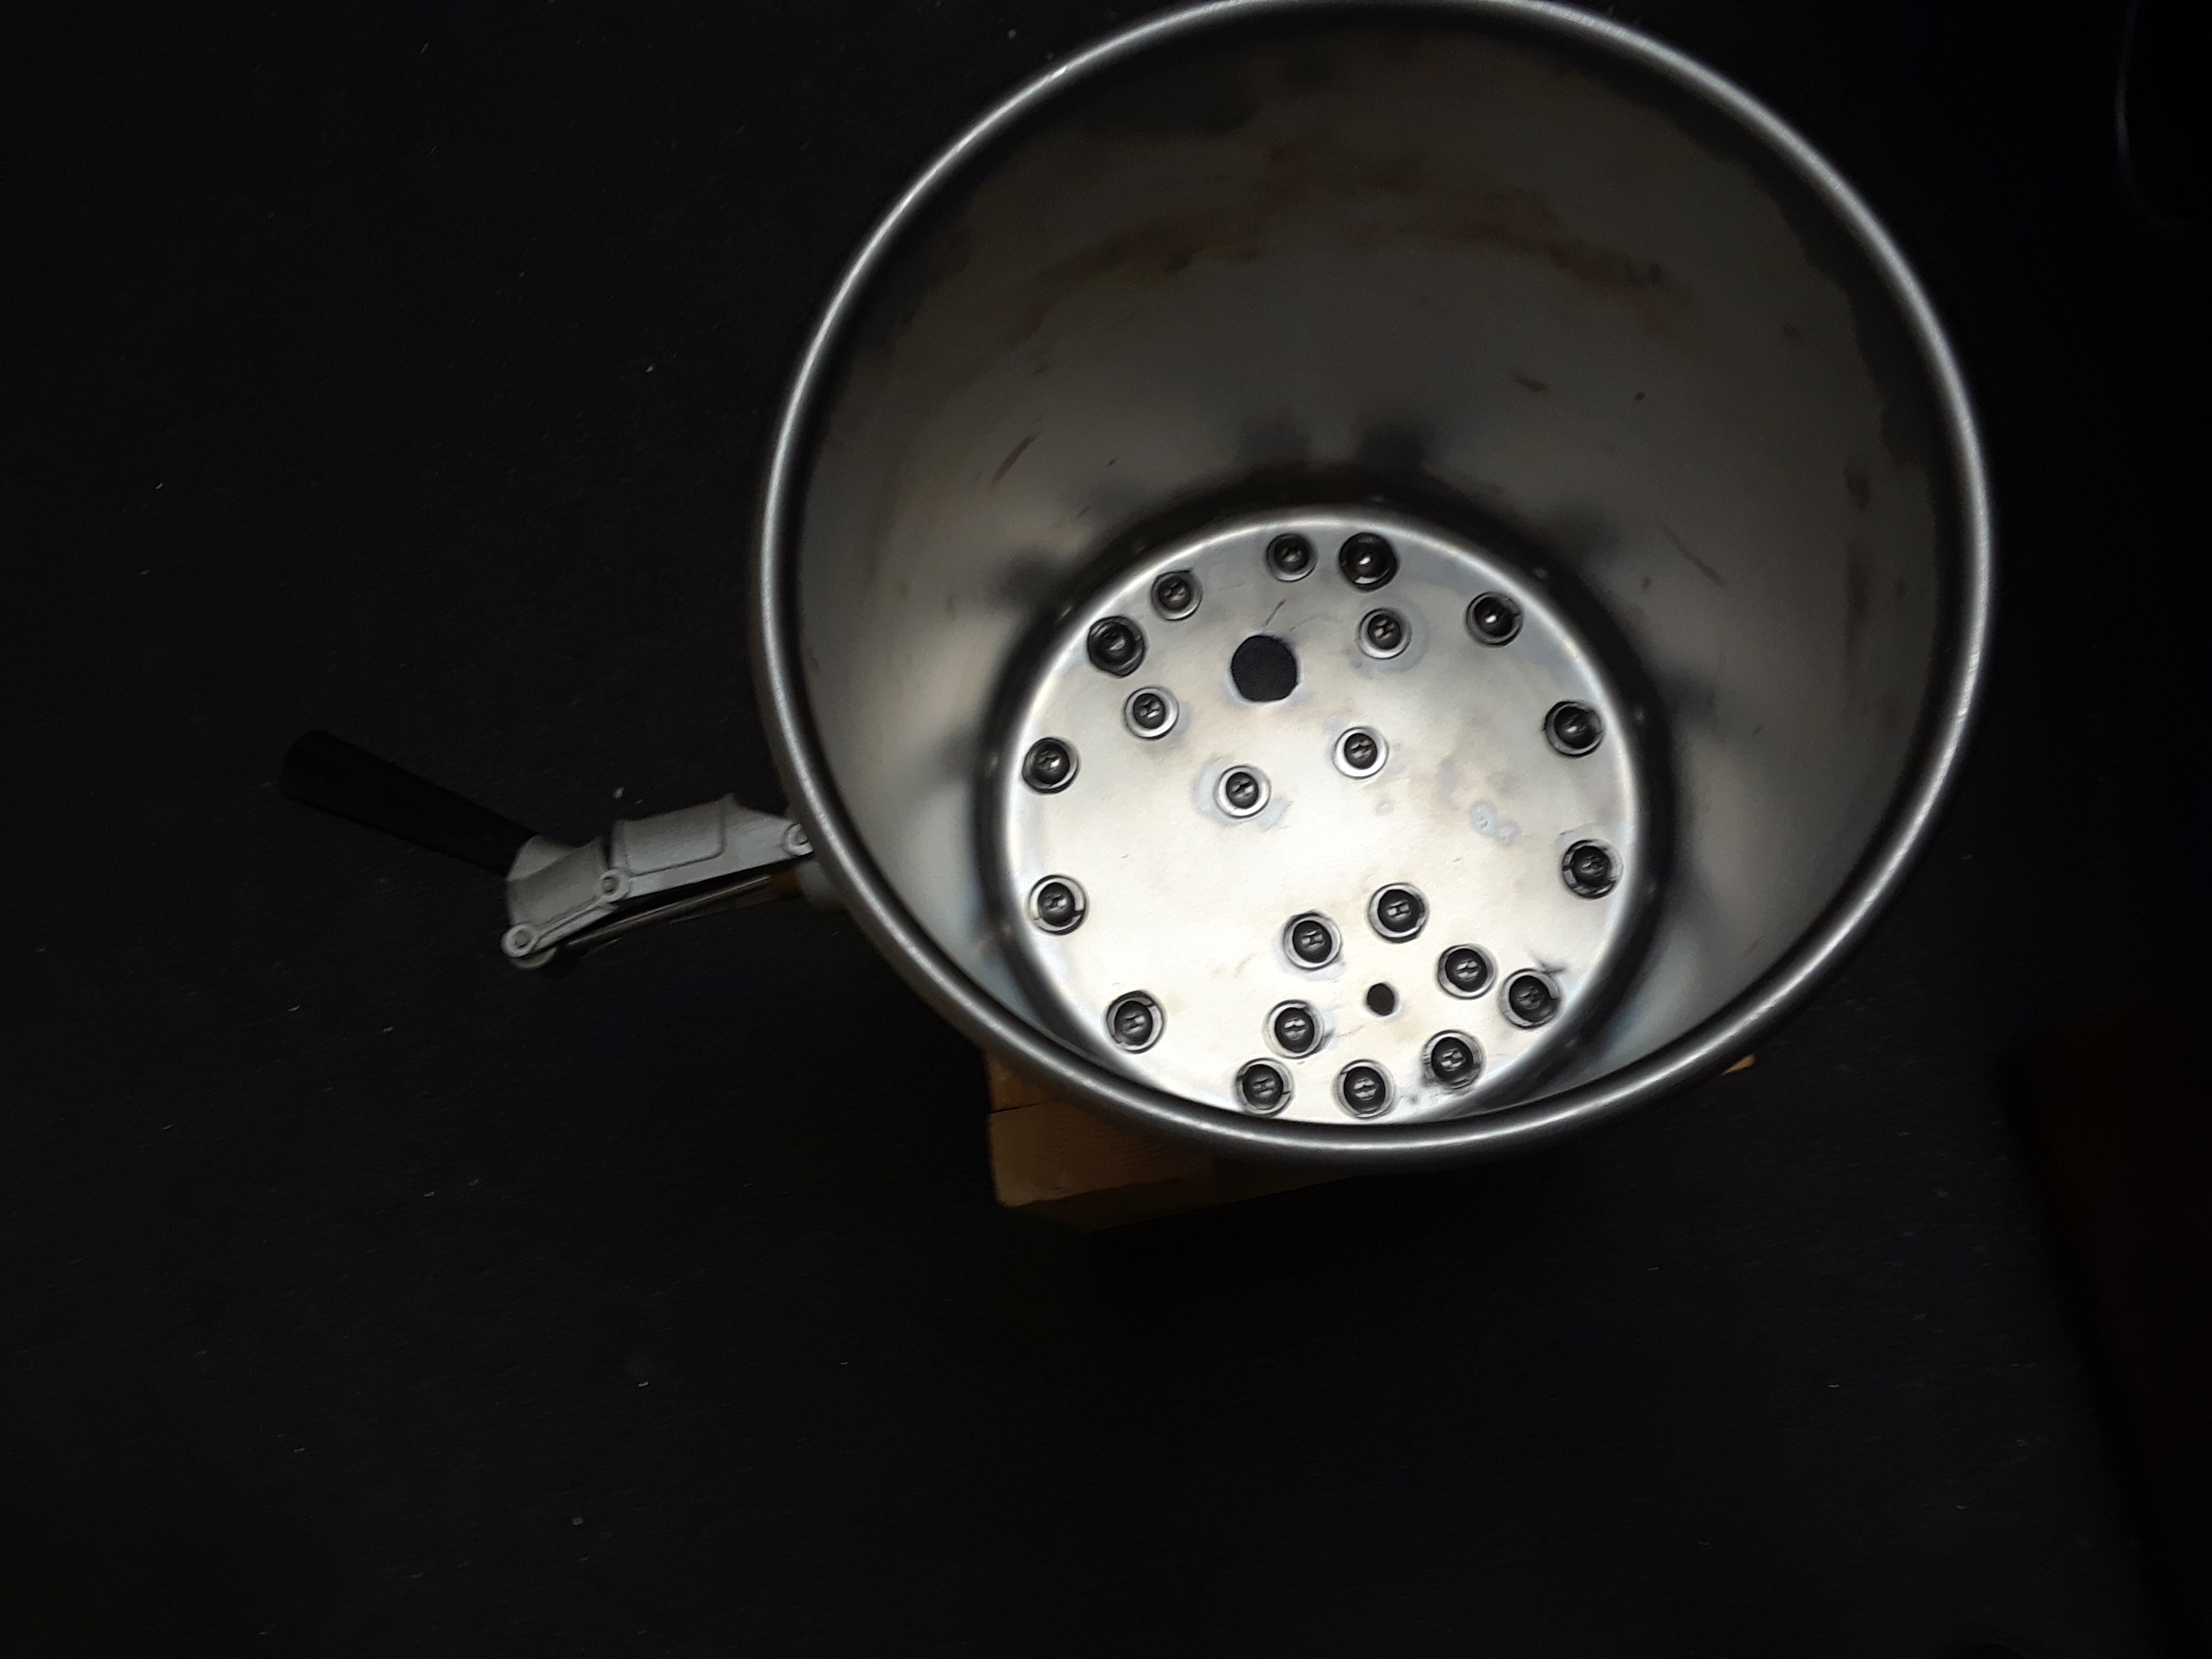
The vacuum chamber is built around a large Bain Marie pot that I purchased from Food Service Warehouse. It is constructed from heavy-gauge sheet metal, and does not have any handles that could potentially leak air into the chamber. Although the cylindrical portion of the pot seems to be structurally sound, I suspect that the flat base could crumple under full vacuum. Therefore, I created a 1/2″ polycarbonate reinforcement plate to take all pressure off the stainless steel base. 14 bolts are evenly spaced around the perimeter of the base, and a 1/16″ nitrile rubber gasket seals the stainless steel chamber to the polycarbonate plate. Some of the bolt holes are sealed with JB-Weld, a slow-setting epoxy resin. After mixing the epoxy, I de-gassed it for about a minute in an ordinary vacuum chamber. The remaining bolt holes are sealed with special screws (from McMaster) that come with built-in O-ring seals. During operation, the vacuum chamber is covered with a 1/2″ polycarbonate plate. This allows the inside of the vacuum chamber to be viewed, and also makes it easy to change between different experiments (by using a different chamber cover for each experiment). The cover seals against the rounded stainless steel edge with a 1/16″ nitrile rubber gasket sheet.
Variable Leak Valve
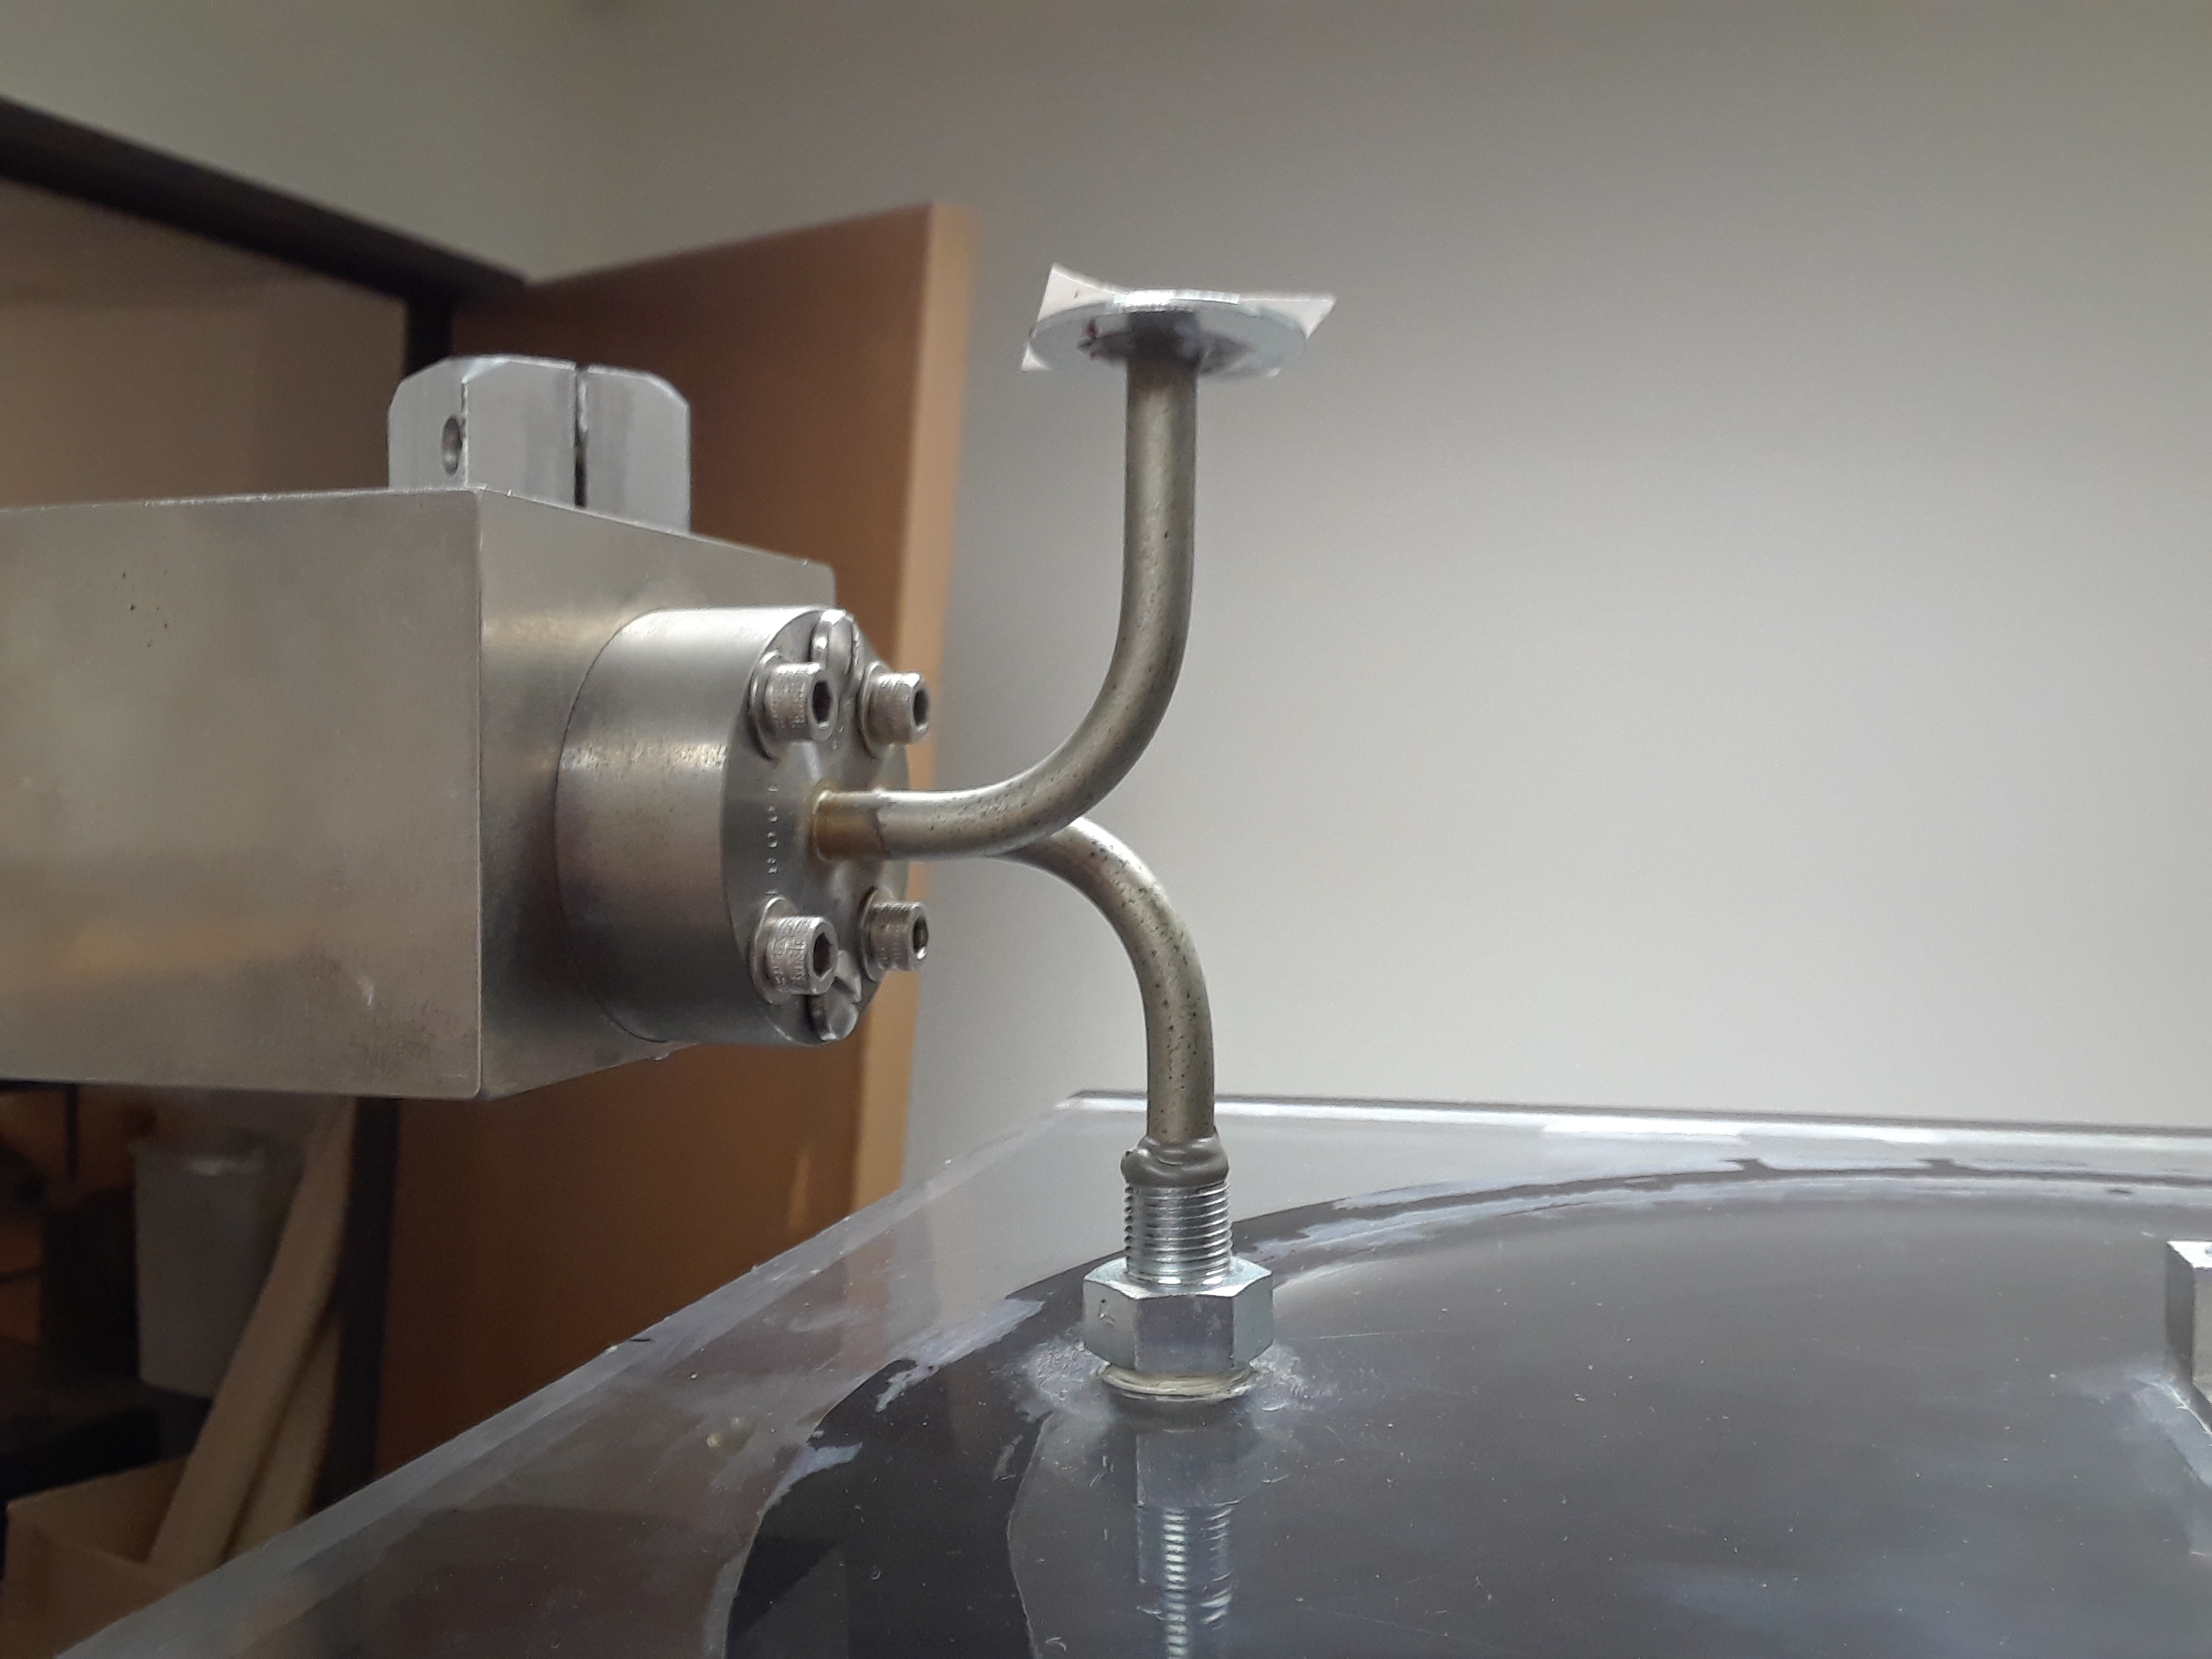
I purchased a variable leak valve on eBay. This is an unusual item, and I had to wait a while for one of them to come on the market. A variable leak valve can be used to introduce very small amounts of gas into the vacuum chamber. This is necessary for certain experiments, such as the fusor. JB Weld was used to attach the leak valve to a 1/4″ NPT fitting, which was then screwed into a hole that was tapped in the polycarbonate cover. PTFE paste was used to seal the NPT fitting.
Convection Gauge
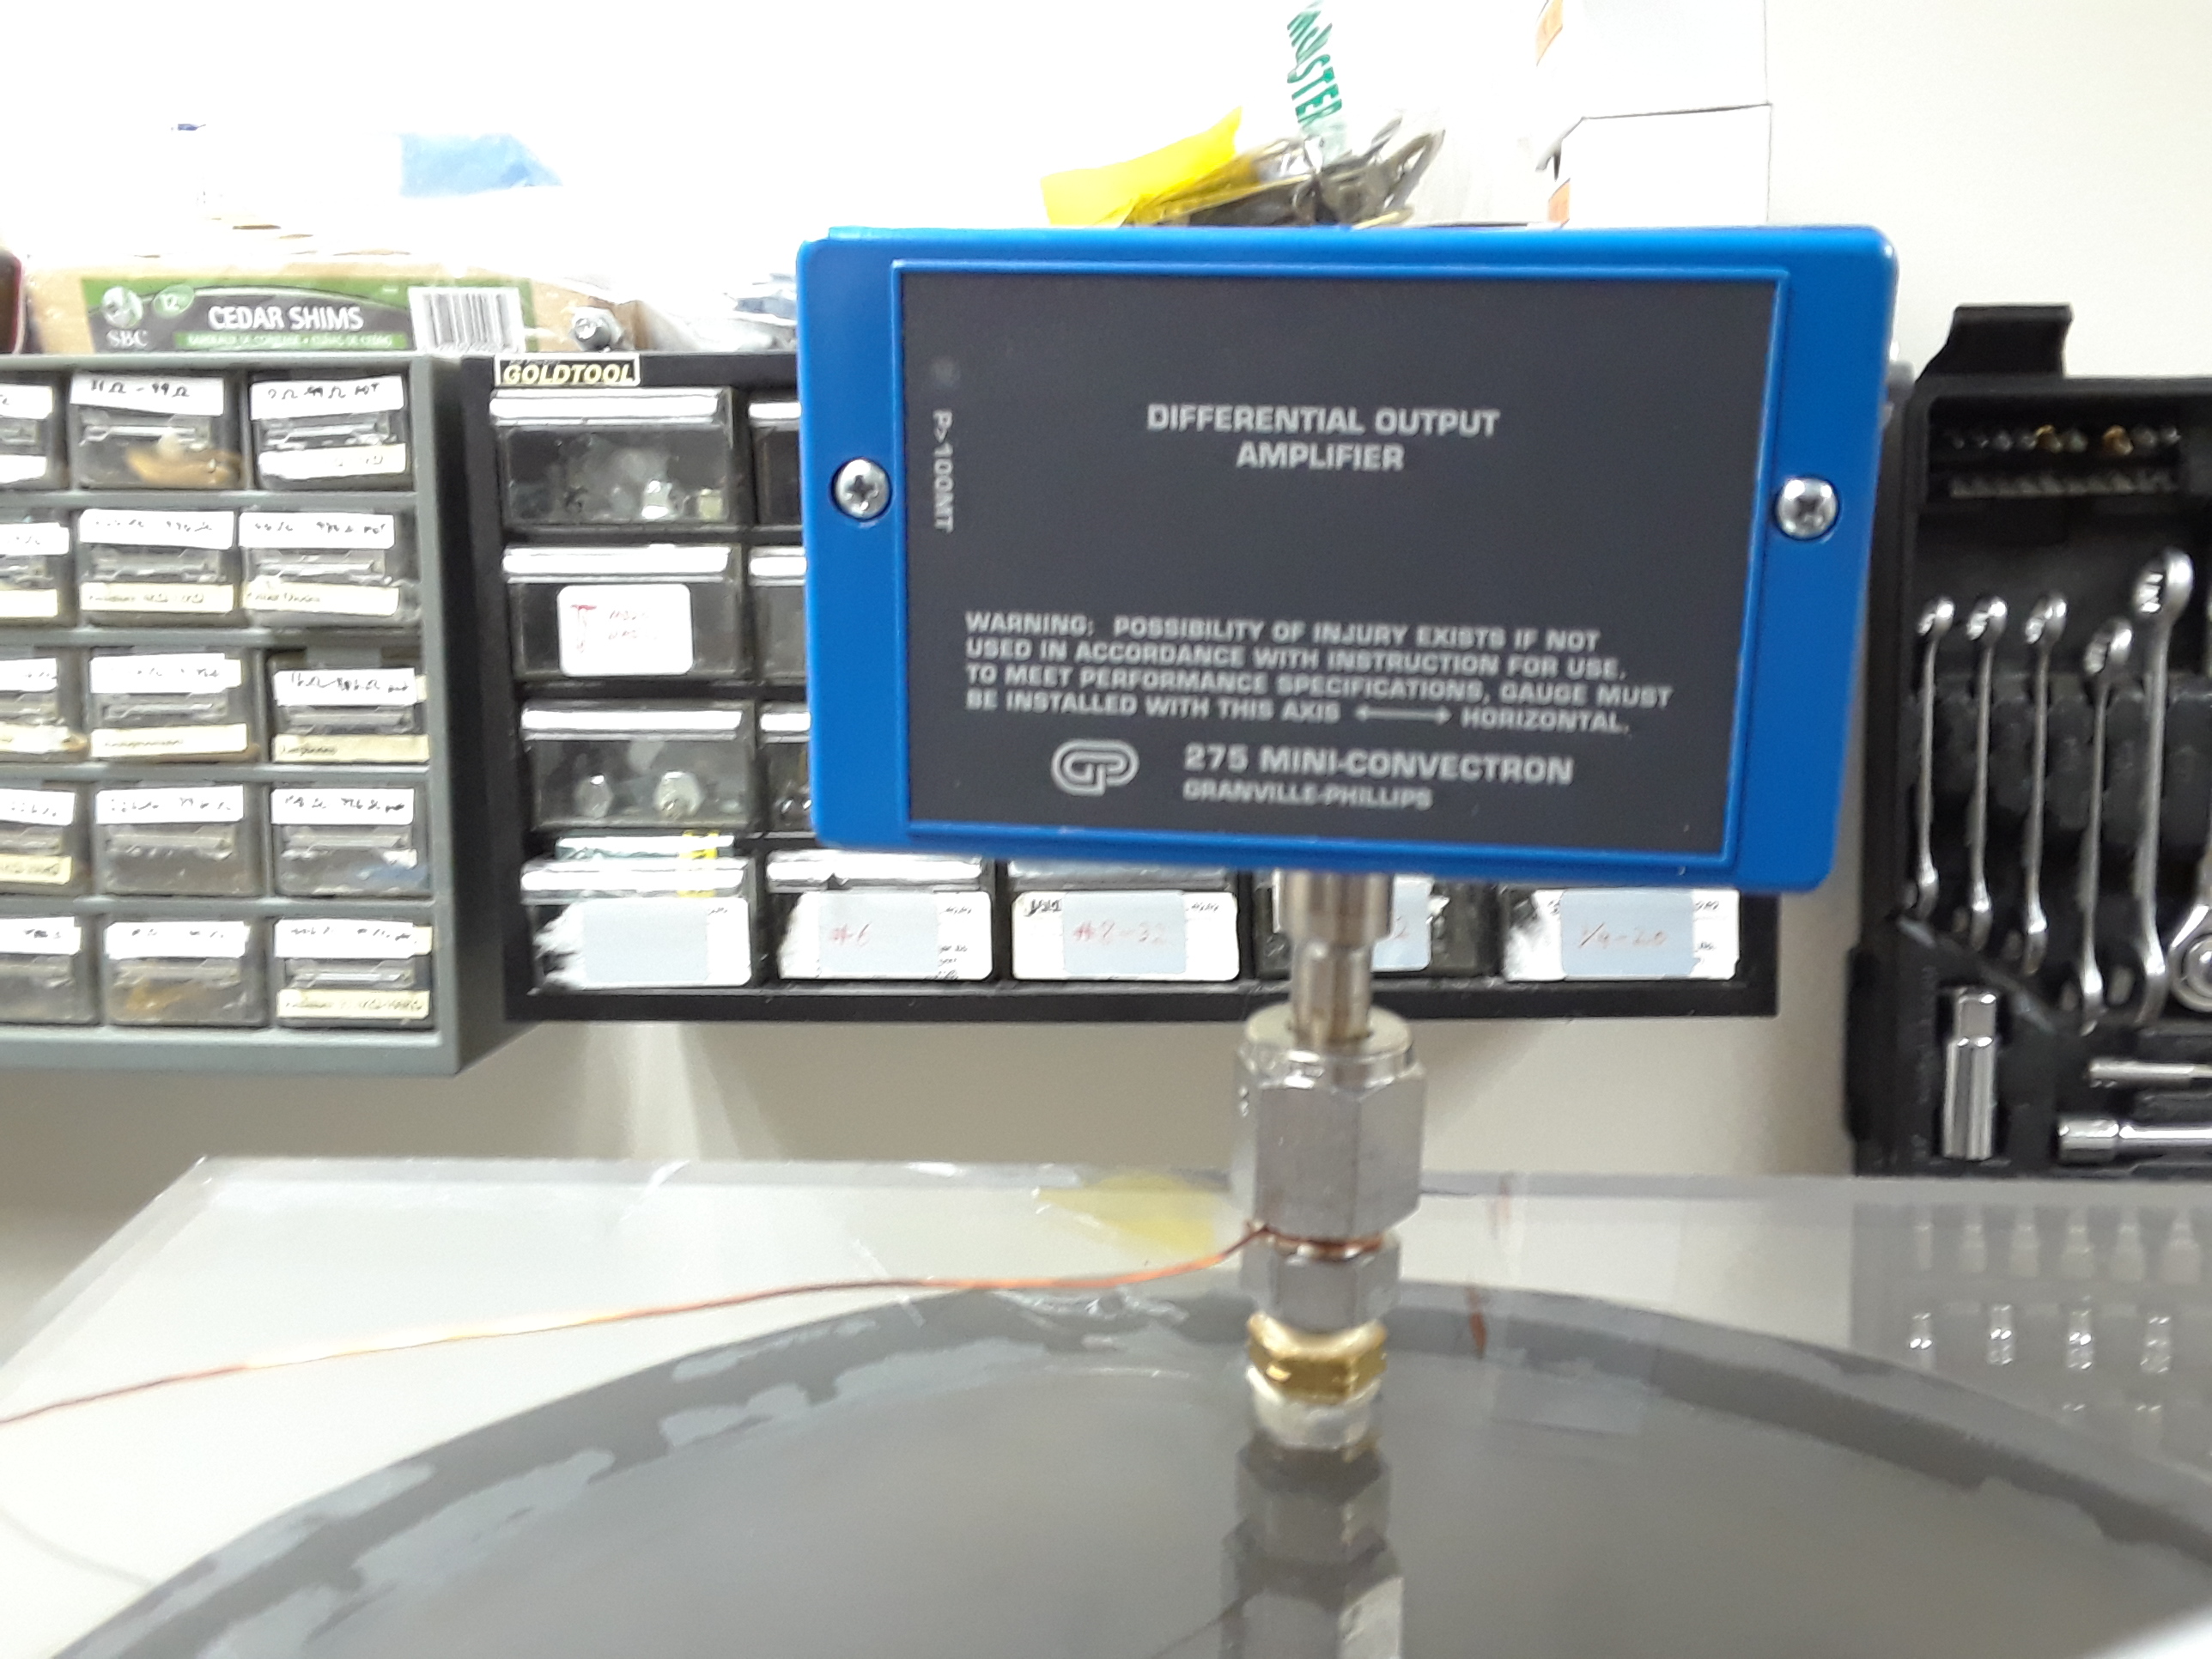
A convection gauge is fitted to the top of the vacuum chamber cover. The convection gauge has a special fitting that seals against a nickel gasket. I was able to find an adapter that converts the special vacuum fitting on the gauge to a regular NPT fitting, as well as a pack of nickel gaskets. Thanks again, eBay! I drilled and tapped an NPT threaded hole into the chamber cover and sealed the connection with PTFE paste. The Granville Phillips mini convectron gauge actually has most of the electronics built-in. It just needs to be connected to a power supply and the output voltage can be read by an Arduino or even a multimeter.
Bayard-Alpert Ionization Gauge

The ionization gauge is bolted to the bottom of the vacuum chamber base plate, and sealed with an O-ring. It was actually designed to be sealed with a metal gasket, but the O-ring works just fine because it fits inside the larger-diameter circular blade that was originally intended to form a seal. The gauge is connected to electronic instrumentation that I purchased on eBay. It looks like this item was also salvaged from a JEOL electron microscope.

Project Ideas
- Scanning Electron Microscope
- Vacuum Tube RF Amplifier
- X-Ray Generator
- Mass Spectrometer
- Fusor
